

Let’s face it, we all want to take great pictures but we rarely invest in a good camera and a bit of time to learn a couple of tricks in order to enhance the quality of our photos.
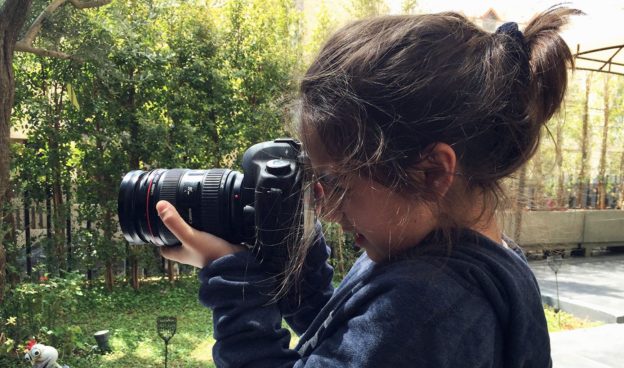
I know that it is a lot more practical and easier for us to use our mobile phones as all-in-one devices. I’m an advanced photographer and most of the time I find myself too lazy to carry a camera. But there are times, when you wish you had a good camera at hand, to capture those great moments, especially if you have kids around you.

I use my phone cam for everyday activities and I always make sure to have my DSLR camera all charged up and handy for those occasional events and gatherings. This way my photo library is mixed with everyday mobile pictures and the higher quality one taken with my camera.
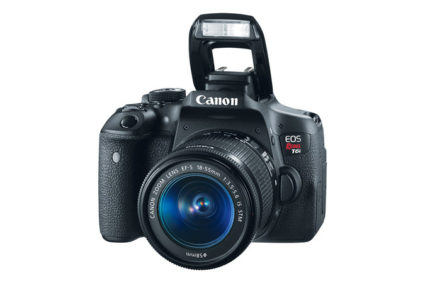
Najib wanted to get a good camera that is easy to use and to move around with. My recommendation to him was to go with the Canon EOS Rebel T6i, (reasons listed below) it is a high quality product that can be bought for a really good price. At the end of the day, it is a home camera for amateur usage and Canon has the best cams in the market. Of course there are many good brands out there, but I’ve been a loyal Canon guy for the past 15 years.
—
I- TIPS TO CHOOSING A GOOD CAMERA WITH AN AFFORDABLE BUDGET IN MIND
(Regardless of the Brand):
—
1- Lenses:
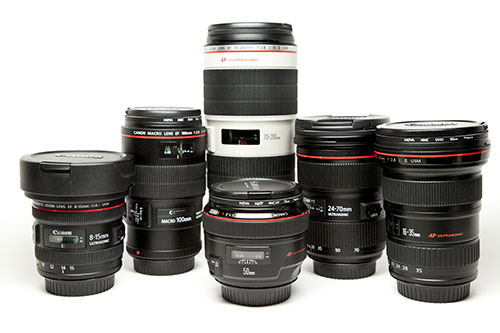
Make sure you invest in a cam that has a lot of optical lens power (3al Libneneh: 3enda zoom). The best photographs are taken with different physical lenses. Most modern cameras nowadays come with interchangeable lenses, but if you don’t want to invest in buying multiple lenses, then make sure you buy a camera with a flexible lens that will work in most conditions for near and far objects. (i.e.18mm – 200mm)
Rule of thumb: The smaller the mm, ex. 24mm, the wider the shot and the closer you need to be to the object. The higher the mm, ex. 300mm, the better it is for capturing distant objects.
2- Video Capture:

Make sure you select a camera that can capture Full HD videos at 25 or 30fps. Nobody wants to carry an additional video cam around. Photo cameras that have HD video capture will give you great movie results. Photography lenses give you the ability to play around with the depth of field and have videos that are not flat but rather look and feel as rich as the still photos.
3- Memory Card:
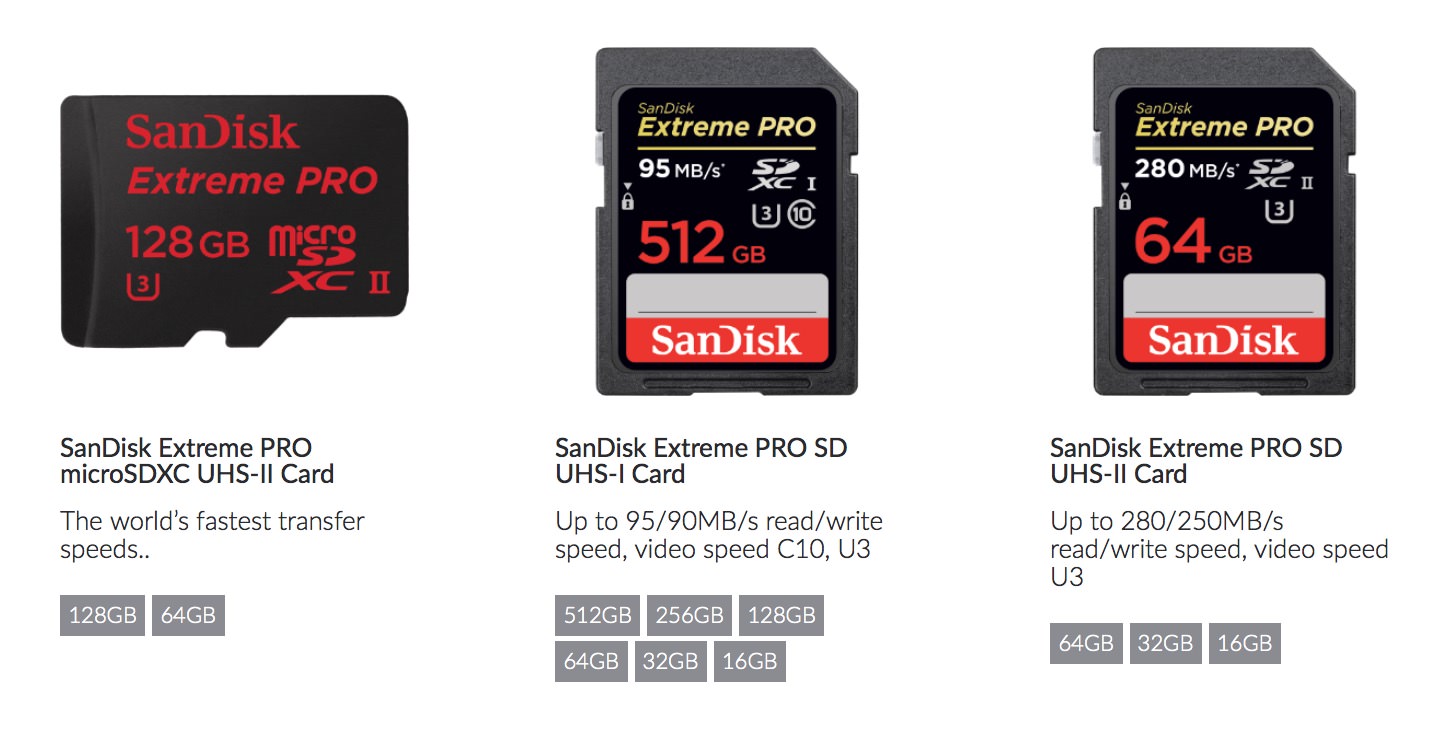
Invest in a memory card with a large storage capacity, ex. 64GB, and that is high quality with fast memory. Not all memory cards are fit to be used for cameras, especially if you are taking burst shots and videos. Each memory card has a capturing/transfer speed, the higher the speed (60MB/s, 90MB/s, 280MB/s), the better the performance. It becomes more expensive but it is worth every penny.
4- Tripod:
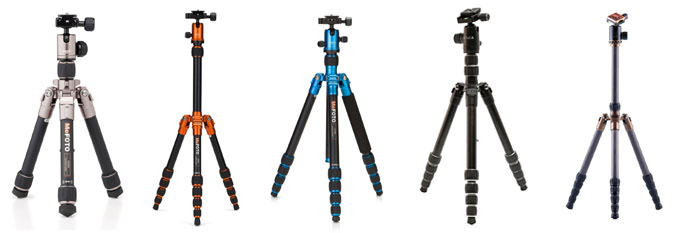
You are not going to use the tripod everyday, but it will come in handy with night shots or when used to shoot a fixed frame video such as a ceremony or end-of-year school event. You can purchase a cheap tripod, but most importantly make sure you choose a lightweight one. Carrying a heavy weight tripod can be very tiring.
5- Flash:
Although it’s one of my least favorite pieces of hardware because most people overuse the flash and get super flat images. But then again, there are pictures that you just cannot take without a flash. Better have one on your cam to be used whenever needed.
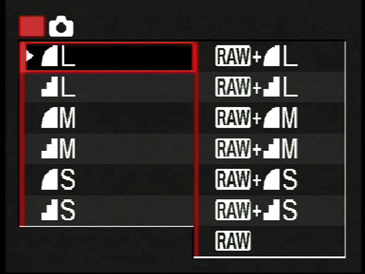
6- Pixel Count:
Choose a camera with the biggest pixel capacity, ex. 24.2MP. A bigger pixel count means a higher quality picture.
—
II- TIPS FOR TAKING BETTER PICTURES
(Regardless if you are using a Mobile Phone or DSLR Camera)
—
1- Backlight:

Don’t take pictures whenever your subject is standing in front of a large source of light such as a window. You will end up with only a shadow of that subject with a very bright background.
2- Lighting:
Make sure your subject’s face is always facing the light source (such as the window).

Avoid using the flash as much as possible as it flattens the face and gives the picture a two-dimensional feeling. Instead try to look for a well-lit place before taking your photos and use as much daylight as possible.
Always avoid using direct sunlight and spotlights as they give hard shadows on the subject. The person’s face will not be relaxed but rather squinting from the annoying light.

If you are shooting outdoors, try to avoid noontime photo shoots and aim for earlier or afternoon photo sessions for softer light. It is even better to take pictures when it’s clouded without direct sunlight, the colors will pop up.
3- Angles:

Take pictures from different elevation points. Most people take pictures from eye-point level, because we simply point and shoot. Try to lower your cam and come closer to the subject, experiment a bit with different heights to take less boring pictures.
4- Cropping:

Come closer to the subject and avoid filling the frame with useless objects. Make sure the object you are shooting is the one that takes the biggest part of your framing and avoid distracting backgrounds.

Use the rule of thirds and move your object from the middle, every camera comes with a grid option that you can enable and use accordingly. For example, don’t place your horizon in the center of the image, unless you want to, but rather in the top or bottom third.

Take horizontal videos and avoid tilting the cam vertically when taking videos. So many phone users got into the habit of taking vertical videos but this is a big NO. Remember that you want to enjoy your videos on a TV/Computer screen, with vertical videos you will end up with a big back screen and a small video in the middle.
5- Keep your camera and lenses clean at all times:
Don’t remove the lens unless you really need to and if you do, don’t do it in a dusty environment. Make sure to cover up both sides of the lens and most important do not touch the mirror inside the camera or blow on it.

Avoid touching the lens with your hands and don’t clean it with any tissue. Blurry pictures most of the time are the result of dirty lenses. Make sure to get a cleaning kit. They are very cheap and available at any photography shop.
6- Settings:
Always set your cam to the highest quality settings and keep it on automatic mode if you are not a savvy photographer. It will do all the work for you if you follow the basic tips that were explained above.

7- Patience:
Avoid taking 90 consecutive useless burst shots, have some patience and wait for the right moment.

8- Storage:
Don’t keep your pictures in your camera. Make sure to copy your photos from your memory card to your computer after each use and make sure to store pictures and videos separately (we will be tackling this topic in details in a later post)
I hope this post was helpful. Enjoy using your camera!
For some cool shots, follow me on Instagram @jimmyghazal


man i feel stupid . Lol … i just noticed there is someone writing some posts other than Najib, you almost have the same way of typing. anyway great article loved it. 🙂
Great article. And the tip about not recording vertical videos, it is very important. I wish I knew it before, I have taken so many vertical videos in the past that I regret not shooting them horizontally.
There are some additional tips that can be added like:
– If you want to take a photo of a moving object, you can set a fast shutter speed, (1/400 sec for example)
– To capture light trailers, you can set a slow shutter speed (8 seconds for example) and must use a tripod in this case.
thank you for that post
can we have some tips about how to improve our photos with a software or smthg.
Buy a DSLR camera amd become a prooo, yiii waiiit , now everyones a prooo, lool
i have Sony Cyber-shot DSC-HX400V and i adore it . especially the zoom 🙂